
Lately Lotte and I have been wearing a lot of headbands with fabric and ribbon rosettes. We have a LOT! Have you noticed that headbands are extremely difficult to store. I found myself putting them all in a gallon sized ziplock bag and shoving them into the bathroom closet. ~not cool~ But a headbands don't clip, so I had to make a ribbon holder with loops

........and here is how I did it.

You will need:
34 inches of wide (1 1/2 inch) ribbon
54 inches of narrower (7/8 inch) ribbon {I left mine on the spool to make sure that I had enough}
3 inches of narrow (3/4 inch) ribbon
Straight Pins
Sewing Gauge
Sewing machine and tools
{all measurements are for my 33 1/2 inch long holder with 10 loops that are the perfect size for skinny headbands. You could just as easily make yours with more loops, less loops or even bigger loops for bigger headbands}
Start out with your wide ribbon and heat seal the ends by running them near a candle flame.
Place your narrower ribbon centered on the wide ribbon and pin them together near the top edge.
Measure 3 inches from top and add a pin to mark your place.

Next, you will measure out 2 inches of the narrow ribbon and fold under until it meets the pin at the 3 inch mark. Pictures are a little more helpful here than words!

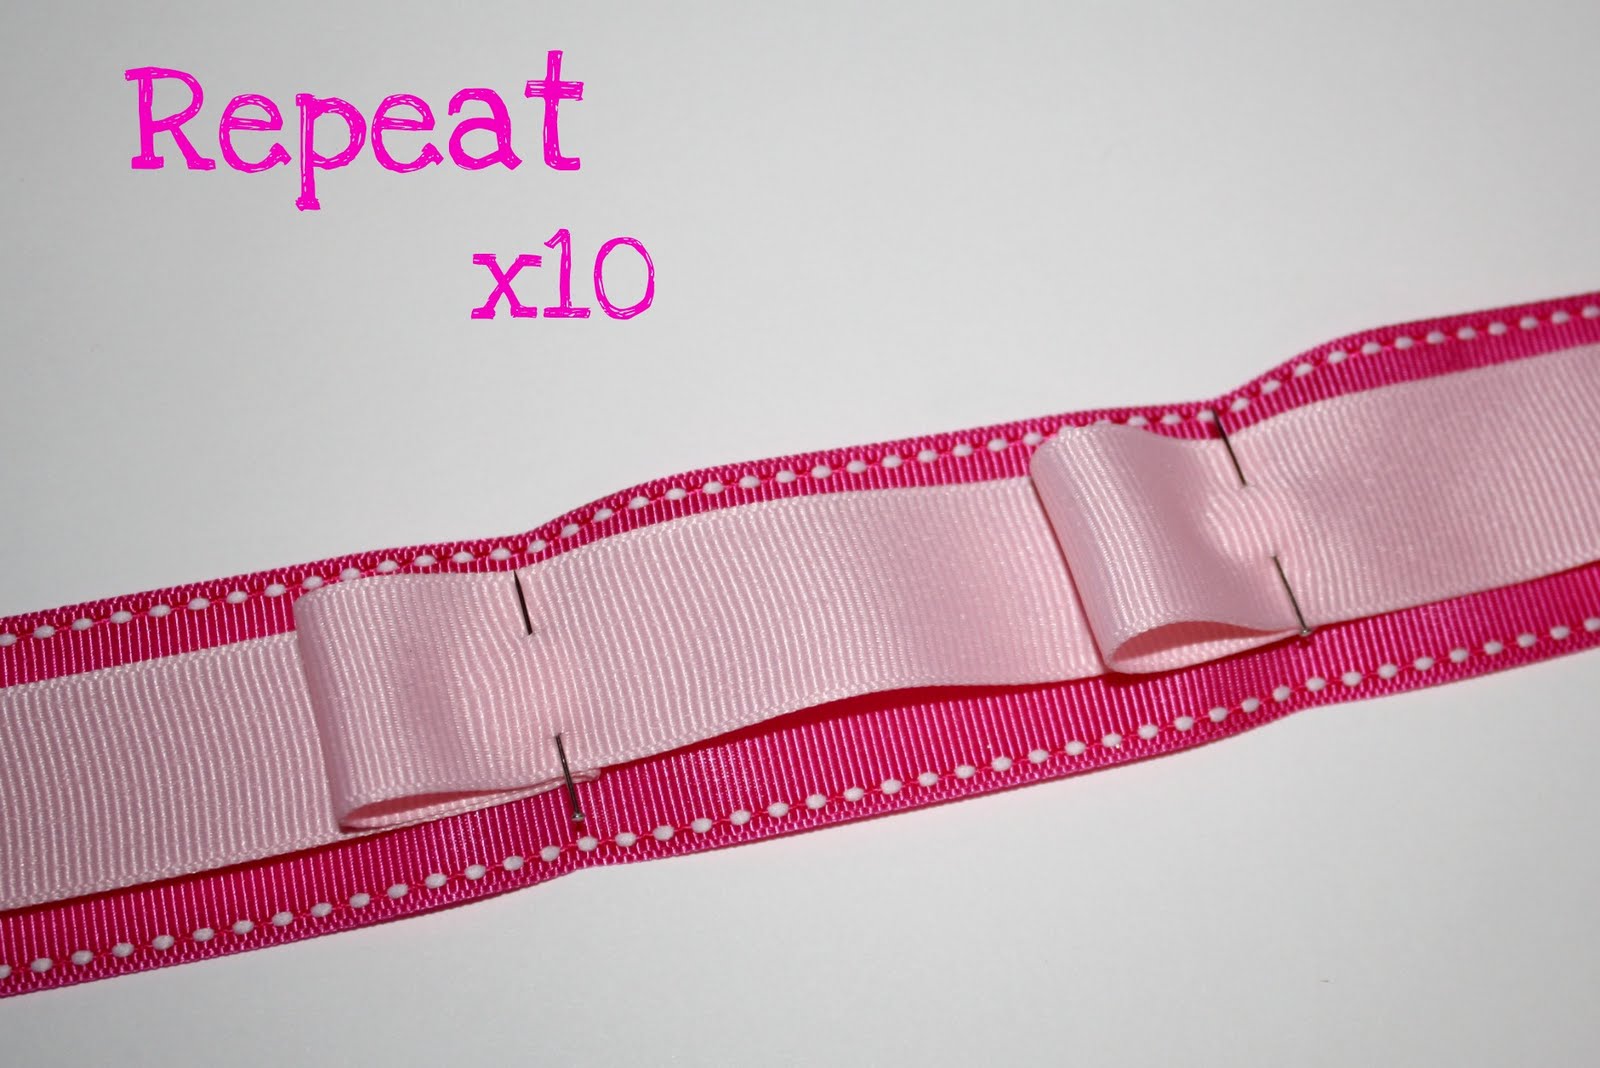
Measure 3 inches down from your first pin and repeat the steps you just finished to make 10 loops total.
TIP: Make sure your narrower ribbon is centered during these steps and it will cause less headaches and fidgeting when you are sewing.
Now you are ready for the sewing maching...mine's name is Lucy...because I Love Lucy!
Fold the top edge down 1/4 of an inch and sew a straight stitch through.

Essentially, the next steps you will just be making long rectangles with your sewing machine. Start at the top corner and sew until you meet the loop folds. Sew one or two stitches into the folds to make sure they don't come undone. Then sew across the top of the loop.

Turn your project so you complete the rectangle.
For the next rectangle start under the loop as close to the edge as possible and repeat the steps you just completed until you reach the end of your ribbon.

Finish by folding up another 1/4 inch and sew in place. Now admire your 20-30 minutes of hard work...and if you are like me, move on to another project before the kiddos wake up!

There you go! Have a good week there are lots of other SITS stuff in the works!
Linked up to these FAB-U-LOUS blogs this week! <3
Strut Your Stuff @ Today's Creative Blog
Sugar and Spice @ 733 Blog
Inspiring Creativity @ Dragonfly Designs
We Did it Wednesday @ Sew Much Ado
Show and Tell @ Blue Cricket Design
Isn't this clever!! I think I need to make one for MY 20-year old twin daughters to corral all of THEIR headbands! Thanks for sharing!
ReplyDeleteThis is so neat. We've hung ribbons to clip hair bows to but never could figure out what to do with the headbands. Of course, glasses are preventing her from even wearing headbands anymore- to much stuff behind her ears.
ReplyDeleteThis is GENIUS! Going to make one now! :)
ReplyDeleteMegan
www.CutTheCraft.com
This is one of those things where I want to go duh why didn't I think of this before. Awesome idea that I will have to make for my kids and their headbands. Thanks for sharing.
ReplyDeletethats awesome
ReplyDelete